Showing posts with label Stamp Review Crew. Show all posts

Monday, August 19, 2024

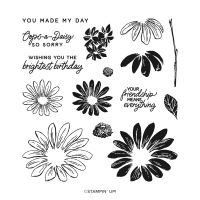
Stamp Review Crew - Cheerful Daisies

Hello stampers,

It's the 3rd Monday of the month & that means it's time for the Stamp Review Crew bonus blog hop. We are a group of Stampin' Up! Demonstrators from around the world who share different ideas made with the featured stamp set. This week, we are featuring Cheerful Daisies.

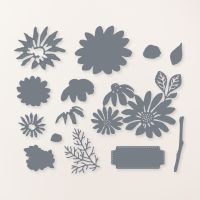
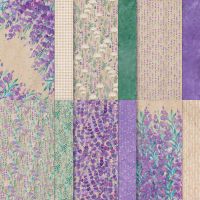
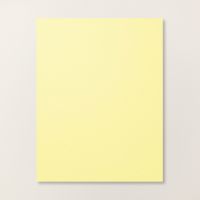
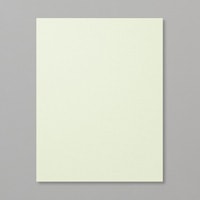
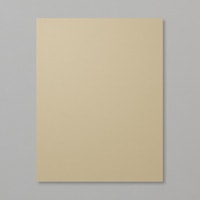
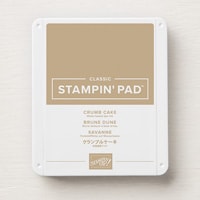
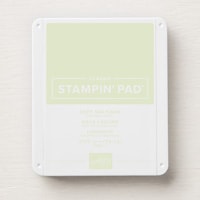
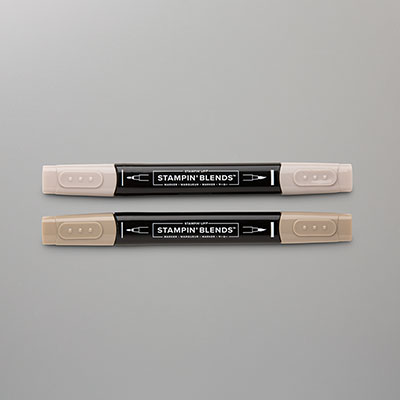
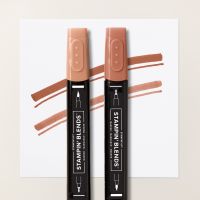
I just realized after finishing this card I used the dies rather than the set. Oopsie-daisy! I die-cut 3 layers of the daisies, stems & leaves using Lemon Lolly. Crumb Cake  & Soft Sea Foam Cardstocks with the Cheerful Daisies Dies. I colored the middle of the daisies using the Crumb Cake Stampin' Blends. Once I was done assembling the flower arrangement I started putting the card together starting with a Lemon Lolly Cardstock base followed by a piece of the Perennial Lavender DSP then added a strip of Soft Sea Foam Cardstock to both the top & the bottom. I used a sentiment from the Beach Day Stamp Set to directly stamp on the Lemon Lolly Cardstock base using Crumb Cake Ink. Lastly, I added a few Shiny Sequins.

     
Paper Measurements-

  • Lemon Lolly Cardstock:
    • Base - 8 1/2 x 5 1/2
    • Layers - 4 1/4 x 4 1/4
  • Soft Sea Foam Cardstock:
    • Layer - 5 1/2 x 3/4
    • Layer - 1 x 3
  • Crumb Cake Cardstock:
    • Layer - 2 x 4 
  • Perennial Lavender DSP:
    • Layer - 5 1/2 x 3
If the above buttons do not work, you can head HERE for a full list of participating demonstrators.

~Thanks for stopping by!
All supplies are Stampin' Up! unless otherwise noted.
Product List

Monday, July 29, 2024

Stamp Review Crew bonus hop - Bird's Eye View

Hello stampers,

It's the 5th Monday of the month & that means it's time for the Stamp Review Crew bonus blog hop. We are a group of Stampin' Up! Demonstrators from around the world who share different ideas made with the featured stamp set. This week, we are featuring Bird's Eye View.

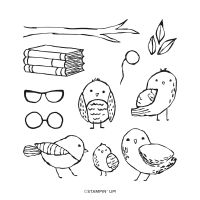
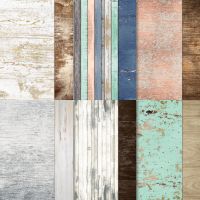
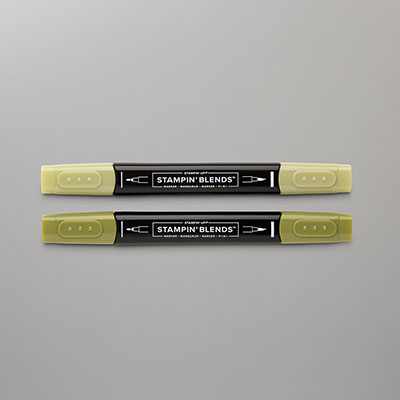
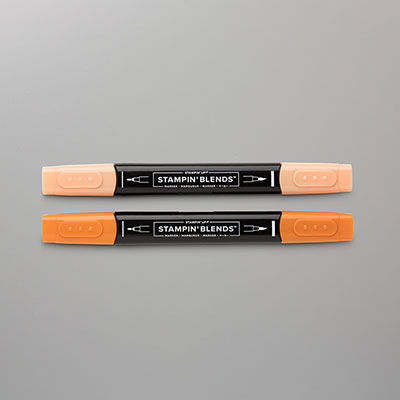
Today's card was made using a tutorial from Creativate Summer retreat & it's a cute fun fold to boot. I started my card by using Basic Beige Cardstock & adhered two pieces of Country Woods DSP to the left panel. I stamped the birds, branch & leaves using Early Espresso Ink on Basic White Cardstock before coloring everything in using Old Olive, Pecan Pie, Crumb Cake, Cajun Craze & Pumpkin Pie Stampin' Blends Combo Packs. For the leaves, not only did I stamp onto the focal point I also added a few with Multipurpose Glue & Mini Stampin' Dimensionals to add a little dimension. The sentiment I used came from the upcoming Everyday Greetings Stamp Set & was stamped using Early Espresso Ink, before adding the focal point to an Early Espresso Cardstock layer.

The next two pictures show how the focal point can be seen not only from the front of the card but also the inside.

  
Paper Measurements-
  • Basic Beige Cardstock:
    • Base - 11 x 4 1/4
  • Early Espresso Cardstock:
    • Layer - 4 1/2 x 3
  • Basic White Cardstock:
    • Layer - 4 1/4 x 2 3/4
    • Layer - 5 1/4 x 4
  • County Woods DSP:
    • Layer - 3 x 4 
If the above buttons do not work, you can head HERE for a full list of participating demonstrators.

~Thanks for stopping by!
All supplies are Stampin' Up! unless otherwise noted.
Product List
Paper Snips
[103579]
$12.00

Monday, July 15, 2024

Stamp Review Crew - Layers Of Beauty


Hello stampers,

It's the 3rd Monday of the month & that means it's time for the Stamp Review Crew Blog Hop. We are a group of Stampin' Up! Demonstrators from around the world who share different ideas made with the featured stamp set. This week, we are featuring Layers Of Beauty.

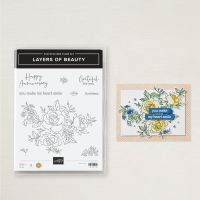
I wanted to change things up a bit & showcase the spotlight technique with the featured stamp set for today's card. I started with a Basic White Cardstock layer, then stamped the floral image with Memento Black Ink & layered it on top of a Basic Black Cardstock layer. I stamped the image again on a scrap piece of Basic White Cardstock, then used the 2" Circle Punch to punch it out, before coloring it with Melon Mambo, Old Olive & Daffodil Delight Stampin' Blends Combo Packs. I used the Stitched Shape Dies to die-cut another circle using Basic Black Cardstock then layered it behind the focal point, before adding it to the bigger image. These layers were then added to a Melon Mambo Cardstock base. For the sentiment, I stamped it using Memento Black Ink onto Melon Mambo Cardstock, then fussy cut the banner end before adding it to the card. Lastly, I added a few Glossy Dots to finish the card.


Paper Measurements-

  • Melon Mambo Cardstock:
    • Base - 8 1/2 x 5 1/2
    • Sentiment - 3 1/4 x 3/8
  • Basic Black Cardstock:
    • Layer - 5 1/8 x 3 7/8
    • Layer - 2 1/4 x 2 1/4
  • Basic White Cardstock:
    • Layer - 5 x 3 3/4
    • Layer -2 1/4 x 2 1/4
If the above buttons do not work, you can head HERE for a full list of participating demonstrators.

~Thanks for stopping by!
All supplies are Stampin' Up! unless otherwise noted.
Product List
Paper Snips
[103579]
$12.00